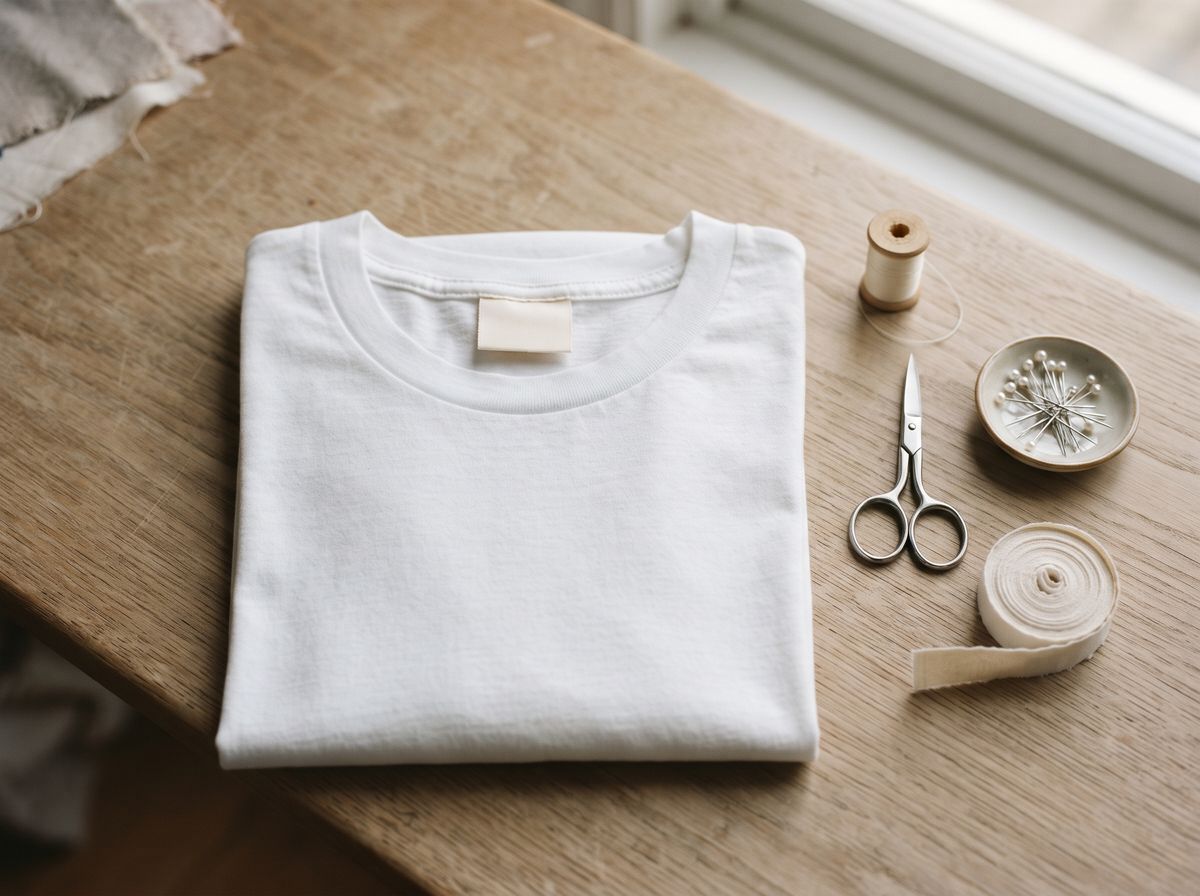
Two ways to make clothing labels
There are really two questions hidden in “how do I make clothing labels”. One is a craft question: how can I put my name or logo on a strip of fabric at home, today, with what I have? The other is a business question: how do I get proper labels for clothes I am going to sell? The answers are different, and mixing them up is the most common reason people end up re-labelling a whole batch of products.
Making labels yourself is quick, cheap for a few pieces and fun. It suits gifts, one-off handmade pieces, school projects and testing how a design looks on a garment. The trade-off is durability and consistency: most home methods fade, fray or lift faster than manufactured labels, and every label comes out slightly different.
Having labels made means a factory weaves or prints your design onto label tape, cuts and folds it, and ships you hundreds of identical labels. It takes a little planning and starts at a minimum quantity, but the labels last as long as the garment and look professional. This guide covers both routes, so you can start at home and know exactly what to do when you outgrow it.
Before you start: what the label must say
Whichever route you choose, decide the content first, because it decides the size and type of label you need.
- Brand label: your name or logo, sometimes with “Handmade by” or a short line. This is the label people see first, usually at the back neck.
- Size label: often a small separate label or combined with the brand label. See size labels.
- Care and content label: fibre content, care instructions and, for many markets, country of origin and the manufacturer or importer identity. This usually goes in the side seam. See care labels and the care symbol guide.
If you only make clothes for yourself or as gifts, a brand label is all you need. If you sell clothing, the care and content information is not optional in most markets. In the US that generally means fibre content, country of origin and the manufacturer or an RN number on a label, plus care instructions on a permanent label. Our label compliance basics explain the main rules; check with your compliance advisor for your exact products and markets.
Six DIY methods compared
All of these use materials from craft shops or online craft suppliers. Cotton twill tape, cotton ribbon or plain cotton fabric strips make the best base for most of them, because they take ink and heat well and are soft against the skin.
| Method | What you need | Look | Wash durability | Best for |
|---|---|---|---|---|
| Iron-on transfer paper | Inkjet or laser printer, transfer paper for light fabrics, iron, cotton tape | Printed, full colour, slight film | Fair; can fade or crack over many washes | Gifts, samples, colourful logos |
| Printable fabric sheets | Inkjet printer, fabric sheets with a paper backing | Soft printed fabric | Fair; rinse and set as the maker directs | Small batches you sew in |
| Fabric stamp and ink | Custom rubber stamp, textile ink, iron to heat-set | Hand-printed, one colour, slightly irregular | Good when heat-set properly | Handmade brands, muslin labels |
| Heat-transfer vinyl (HTV) | Cutting machine, HTV, weeding tool, iron or heat press | Crisp, flat, one or a few colours | Good to fair; edges can lift in hot dryers | Tagless neck prints on tees |
| Fabric marker or pen | Permanent fabric marker, cotton tape | Hand-written | Varies; heat-set markers last longer | Name labels, one-offs |
| Hand or machine embroidery | Embroidery thread, needle or embroidery machine, stabiliser | Textured, stitched | Very good | Monograms, heirloom pieces |
Two things decide how long any homemade label lasts: the base material and the setting step. Natural cotton holds ink and transfers better than polyester ribbon, and skipping the heat-setting or curing step that the ink or paper maker specifies is the fastest way to a faded label. Whatever you use, make a few spares and put one through several hot washes before you label a whole batch.
If you like the look of a heat-transfer neck print but need it to last, our manufactured tagless heat transfer labels use the same idea with production inks, from $95 per 250.
Step by step: iron-on transfer labels
This is the method most people try first, so here it is in detail.
- Design at actual size. Set up a page with many small labels, for example 50 × 20 mm each, with a little space between them. Use bold, simple type; thin lines disappear.
- Mirror if the paper needs it. Transfer paper for light fabrics usually needs a mirrored print, because you press it face down. Check the instructions for your paper.
- Print a test on plain paper and hold it against your cotton tape to check the size.
- Print on the transfer paper, let it dry fully, then cut out each label with a narrow margin.
- Press onto cotton tape or fabric with a hot, dry iron on a hard surface (not an ironing board), using firm pressure for the time the paper maker recommends.
- Peel hot or cold as the instructions say, then let the label cool.
- Cut and finish the edges. Fold the ends under, or seal cut edges with a fray stopper so they do not unravel.
- Wash-test one label before sewing the rest in.
How to have labels made
When you are ready for labels that look the same every time and outlast the garment, the process is straightforward. Most of the work is deciding, not waiting.
1. Choose the label type
| Type | What it is | Best for | Starting price with us |
|---|---|---|---|
| Woven label | Design woven in thread on a loom | Main brand label, premium look | from $89 / 250 |
| Printed satin or cotton label | Design printed on soft ribbon | Care, size and content labels, babywear | from $45 / 250 |
| Tagless heat transfer | Printed directly onto the fabric with heat | Activewear, tees, itch-free necks | from $95 / 250 |
| Iron-on label | Woven or printed label with a heat-seal backing | Makers without a sewing step | from $95 / 250 |
| Leather or rubber label | Debossed or moulded badge | Denim, outerwear, bags, caps | see product page |
Not sure? Our guide on how to choose clothing labels walks through the decision in more detail.
2. Choose the size and fold
Neck labels are usually small: most woven brand labels are about 25–45 mm wide, and side-seam care labels are longer and narrower. The fold decides how the label is sewn in: a centre fold slips into a seam, an end fold is sewn flat, a loop fold makes a tab. Our label fold types guide shows each one.
3. Prepare the artwork
Send a vector file (AI, PDF or SVG) if you have one, with fonts converted to outlines and Pantone references for brand colours. A clear PNG or even a sketch is fine to start with; we redraw rough logos free. The artwork preparation guide covers sizes, colours and layout.
4. Approve a proof, and a sample if you want one
Before anything is made, you get a to-scale proof by email. If you want to feel the materials first, the $49 sample pack is credited to your first order.
5. Order the right quantity
Our minimum is 250 labels per design. Many first orders combine a woven brand label with a printed care label. The MOQ guide explains how to choose quantities, and the first label order checklist lists everything to have ready.
Attaching your labels
- Sewing into a seam. Centre-fold labels slip into a seam and are caught when you sew it. The neatest option for neck and side-seam labels.
- Sewing flat. End-fold and straight-cut labels are top-stitched on all sides, by machine or by hand with small stitches in matching thread.
- Ironing on. Iron-on labels need firm pressure and enough heat and time; for items washed often, add a few stitches at the corners.
- Heat pressing. Tagless transfers and vinyl go on with a heat press or iron at the temperature and time the maker specifies.
Where each label goes on different garments is covered in our label placement guide.
When to switch from DIY to ordered
| DIY labels | Ordered labels | |
|---|---|---|
| Quantity | A few to a few dozen | 250+ per design |
| Time to first label | Same day | Proof in about 24 hours, delivery in about 10–15 days |
| Consistency | Each label slightly different | Every label identical |
| Durability | Varies by method; test every batch | Made to last the life of the garment |
| Look | Handmade | Professional, woven or printed |
| Good for | Gifts, samples, personal projects | Products you sell, repeat production |
A practical rule: if you are selling, sewing the same label into more than a few dozen pieces, or getting customer questions about faded labels, it is time to order. Many makers keep DIY for one-off custom pieces and use ordered labels for everything else.
Common mistakes
- Using polyester ribbon for printed DIY labels. Ink and transfers grip cotton better.
- Skipping heat-setting. Inks and transfers that are not set properly wash out.
- Text too small. Tiny type blurs in every method, including weaving. Keep it bold.
- Scratchy edges. Cut edges against the skin itch; fold them under or choose soft labels.
- Forgetting the care label. A beautiful brand label does not replace required care and content information on clothes you sell.
- Labelling a whole batch without a wash test. Always test one first.